You’ll need:
- Thick wool yarn (approx. ½ ball for a small hat, 1+ for a large hat)
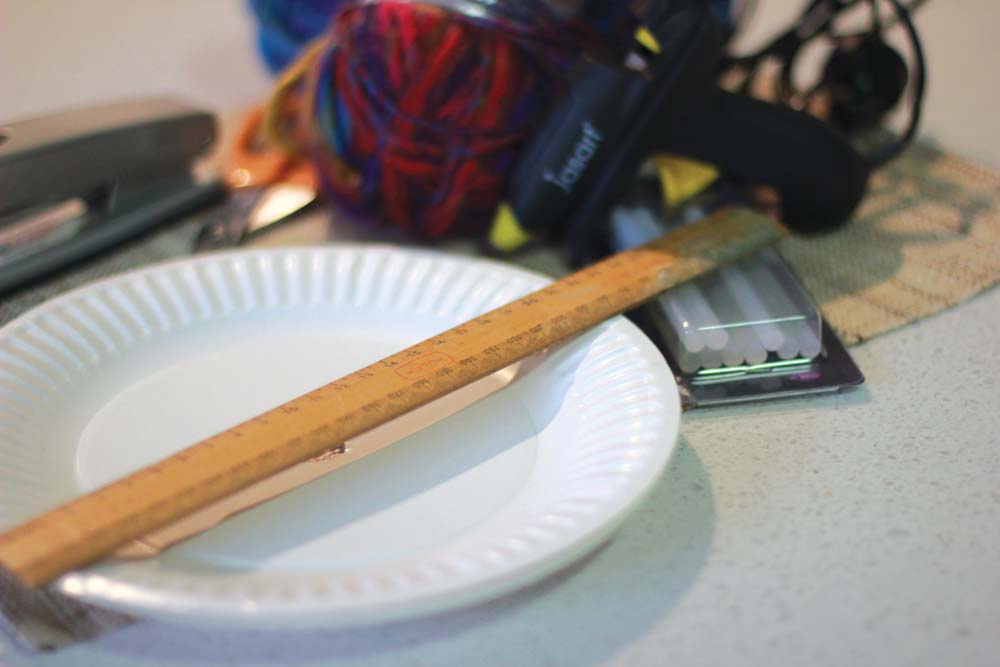
- Scissors
- Paper plate
- Stapler
- Hot glue gun or double-sided tape
- Popsicle sticks
What to do:
1. Cut a line from the outside edge of the plate to middle. Then cut out 2cm hole in the centre of that plate.
2. Cut the yarn approximately 4cm longer than the diameter of the paper plate.
3. To figure out how much yarn you need to cut for the first layer, hold it on top of the circle, spread it out like a fan and see if there are any hollow areas. If so, cut some more until there’s full coverage.
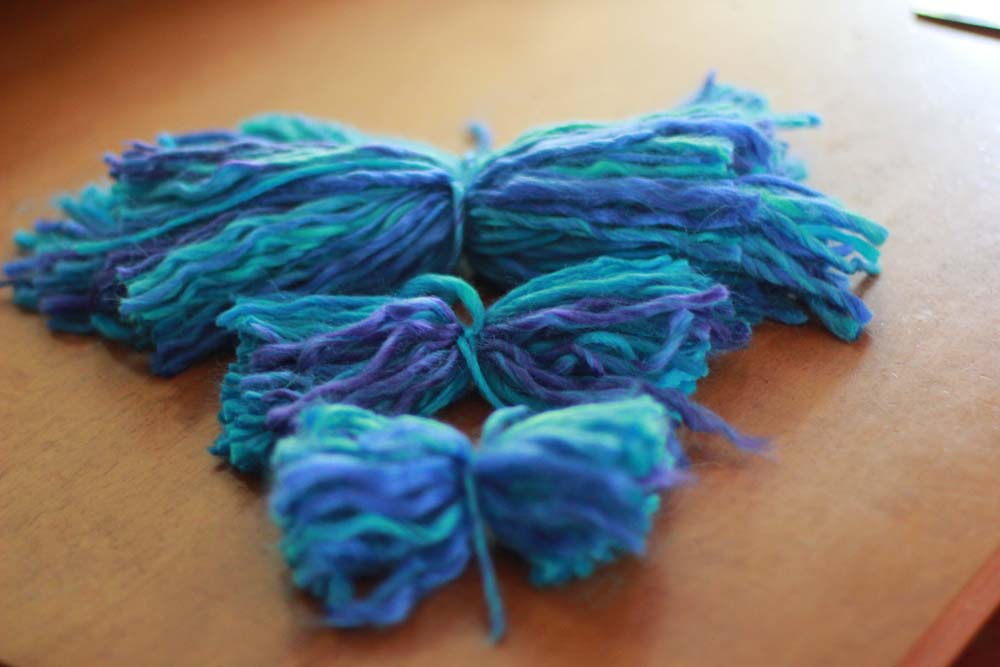
*Tip from the husband – to speed up yarn cutting time, wrap the yarn around and around the length of a spiral notebook or piece of cardboard. Then cut through each end and voila! – two batches of yarn in the correct length. Once you have enough yearn to fill your circle, use a piece of yarn to tie the bundle in the middle.
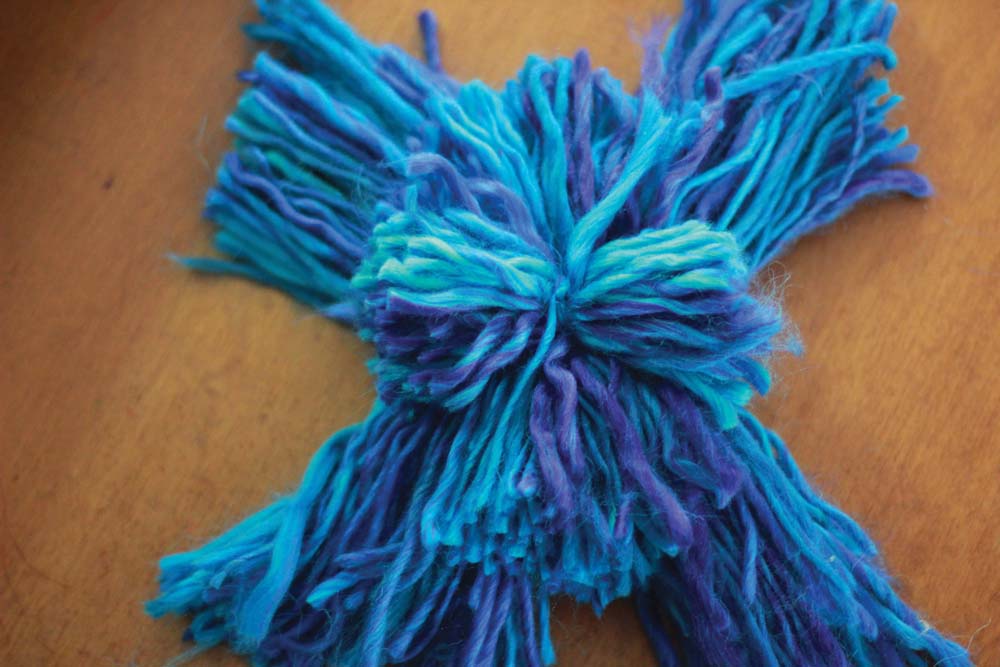
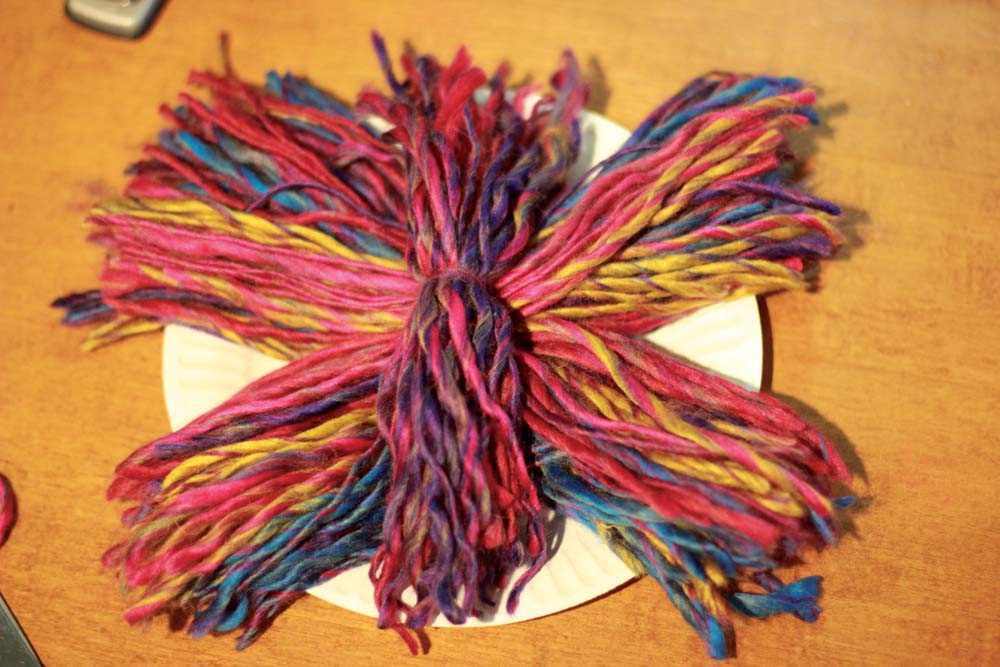
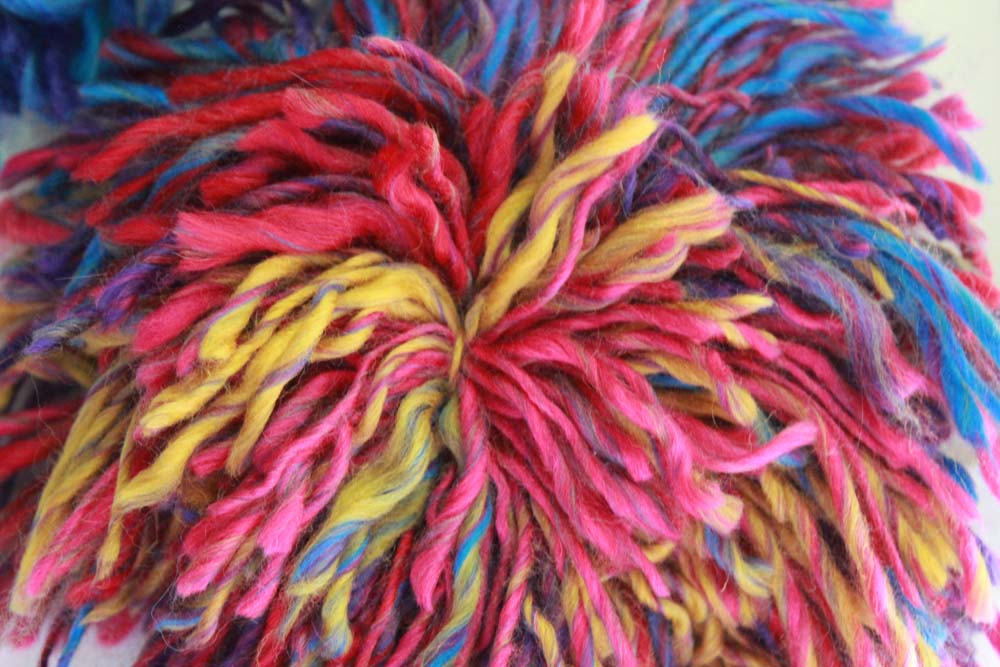
4. Divide the sides of the first bundle in half so that it’s the shape of an X. Cut a second bundle of yarn into shorter lengths than the first (mine were 8cm shorter) and tie. Place bundle vertically onto the X and tie around the sides of the X shape. Repeat with a third, even shorter layer. Just make sure that you tie on the third layer horizontally this time so that our plume of yarn is full all the way around.
5. Now pull the centre of the yarns through the hole on the plate. Slip a popsicle stick, (or two) under the strip of yarn that we used to tie the biggest bundle. Overlap the edges of the poster board to the desired cone shape. Staple in place.
6. Tie a piece of yarn around the sticks to create a loop to hang from.
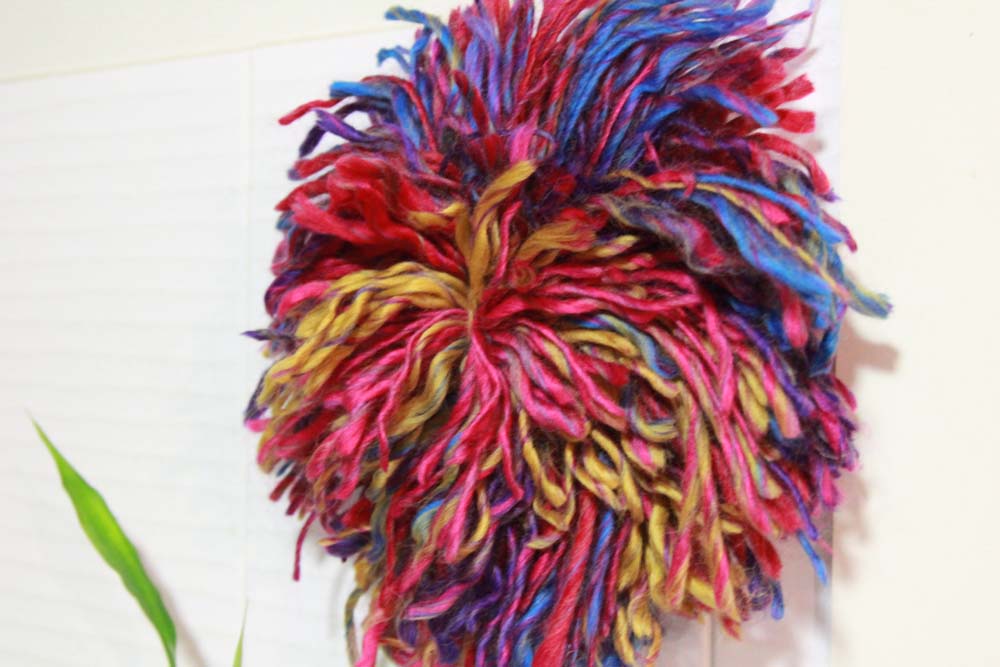
7. Flip the hat back over and either run a small strip of hot glue around the edge or stick the double-sided tape onto the back and press the yarn down into the desired position. (If you don’t do this you might have some drooping yarn!)
8. Fluff and straighten the yarn to achieve the look you want.
