You’ll Need:
- Any type of thick yarn (start with two or three strands for little hands)
- Scissors
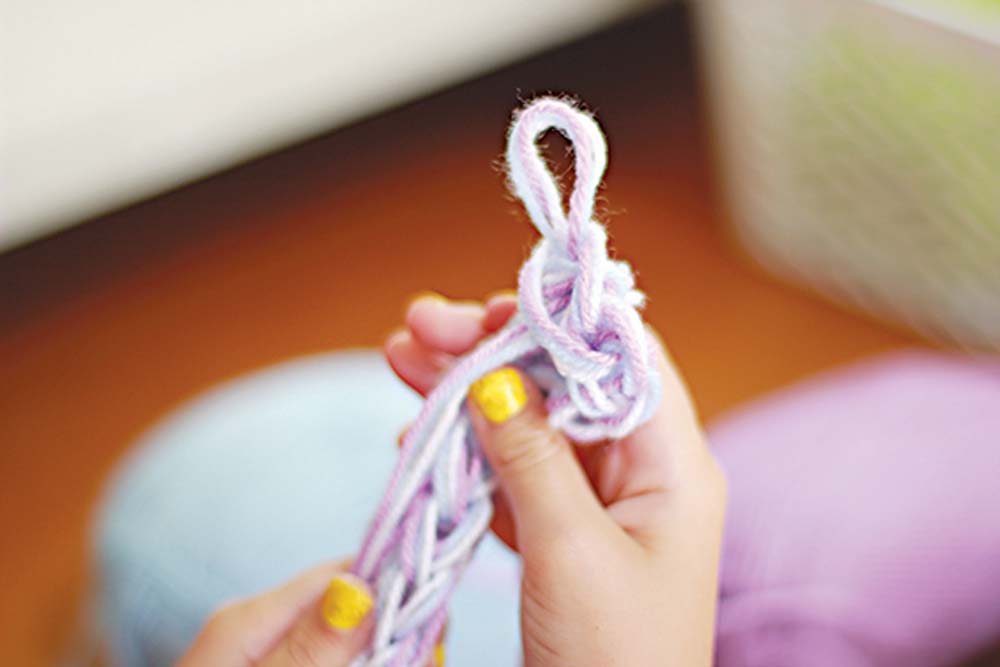
1. With your left hand facing you, (If you’re a leftie, swap hands), the tail of your yarn(s) should be hanging between your left thumb and index finger.

2. Start by wrapping the strands of yarn over the index finger, behind the middle finger, over the ring finger and behind the pinkie.

3. Once you wrap around the pinkie, continue back the other direction until you’re back at the index.

4. Go around the index finger a second time and wrap all fingers the same way, but slightly above the wraps from the first pass. Keep the wraps loose.


The First Row
5. Starting at the pinkie, lift the bottom strands of yarn up and over the tip of the finger, keeping the top wrap on the finger. Working from pinkie to index finger, continue this process. Be careful not to lose or mix the tail of your yarn into the mix.


All Following Rows
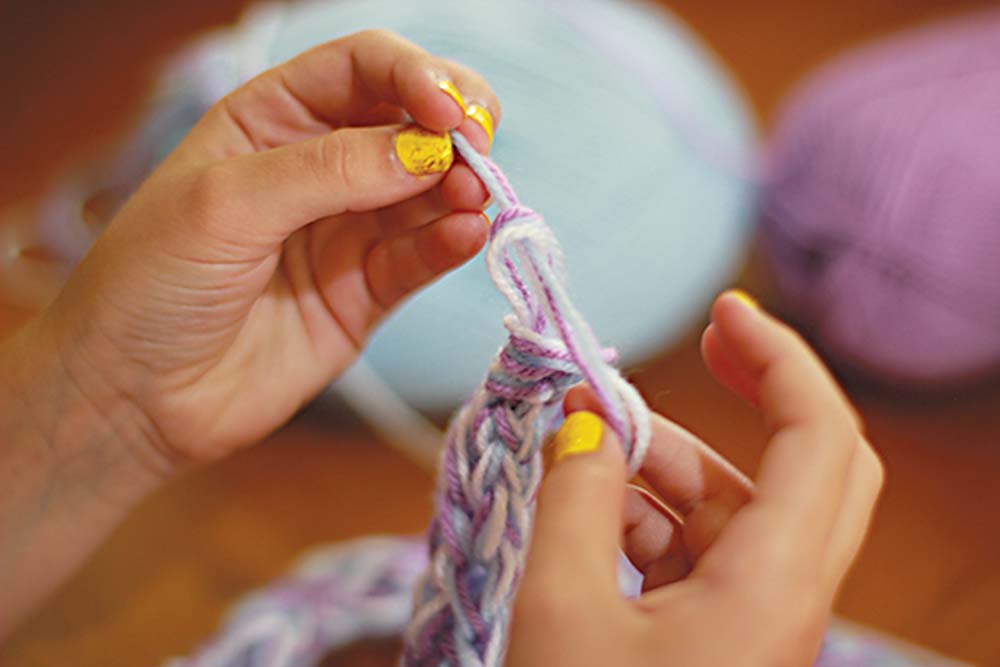
6. Once again, wrap the working yarn around all four fingers as in step one. Next, each lower stitch is passed over the upper stitch and lifted off the finger as in step two. Continue until your scarf is the desired length.

Finishing Off
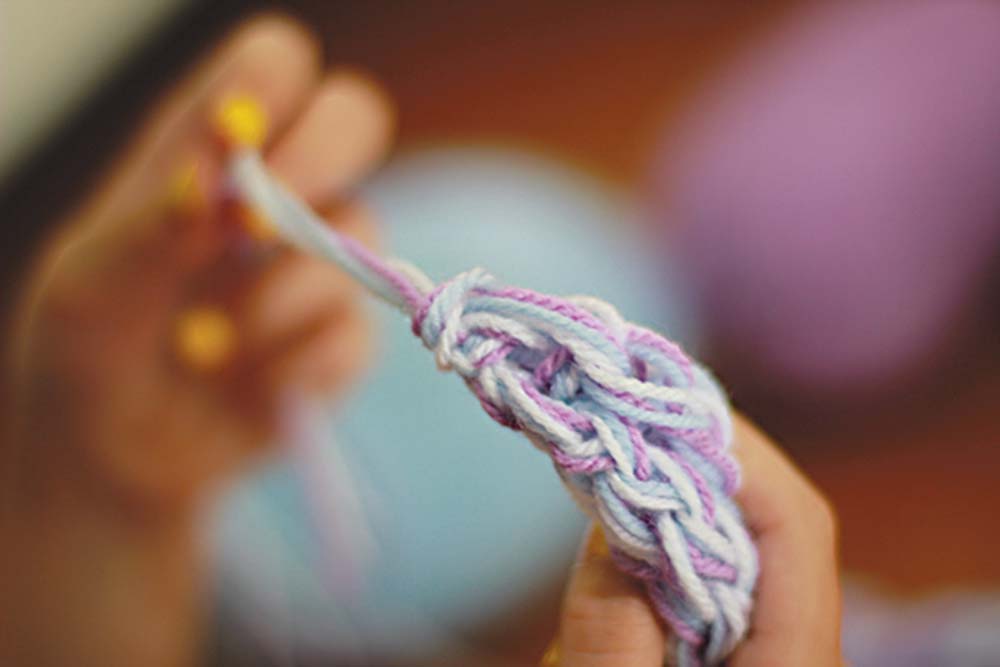
7. Once the chosen length is reached, it’s time to finish off. On the last row, do not wrap the fingers. Each finger should have only one loop on it. Lift off the loop on the pinkie finger and place it onto the ring finger. On the ring finger, lift the bottom loop up and over the top loop and off the finger. Next, place the remaining loop from the ring finger onto the middle finger and repeat the lifting off/moving over step until one loop remains on the index finger. To finish, simply cut a tail and pass it through the remaining loop, pulling it tight. Remember to pull the original tail tight, too!


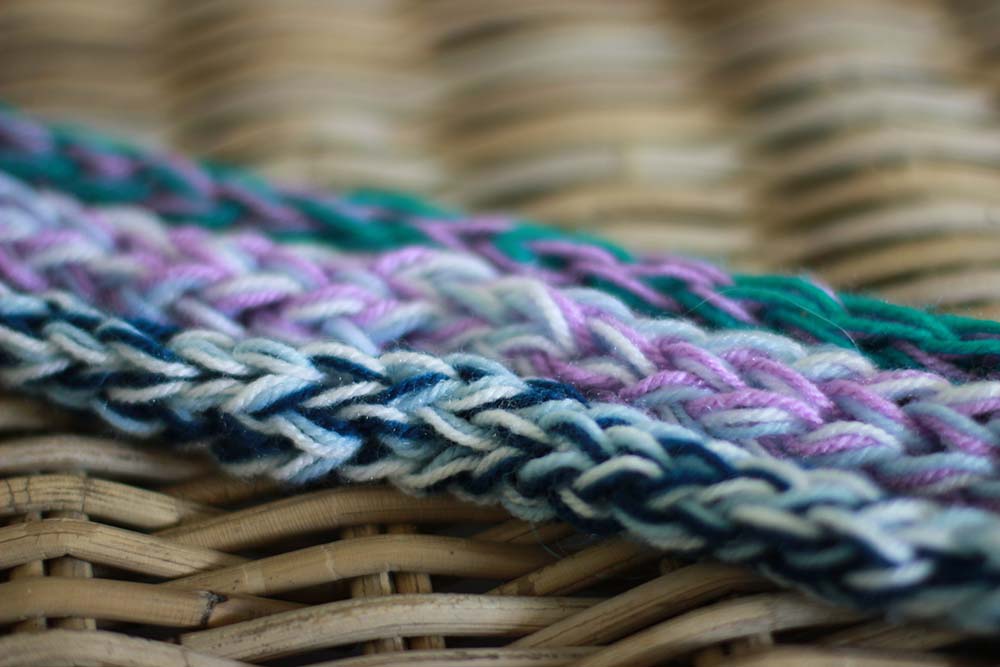
Scarftastic!
*Have fun experimenting with more strands at one time which would yield a thicker scarf, or different textures or thicknesses of yarn would be great as well!


