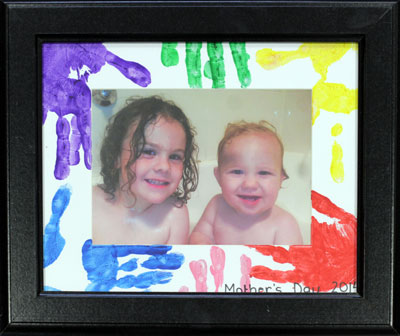
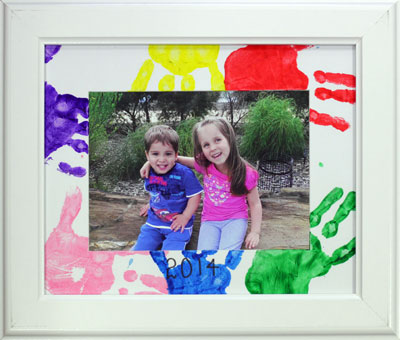
Materials:
- Photo frame that comes with the matt card framing
- Paint – we used multiple colours but you could also use one colour or just a couple of colours
- Black marker
- Photo
- Paint brush
- Sticky tape (not essential but makes putting the photo into the frame easier)
- Towel

Instructions:
1. Dissemble photo frame and take matt out; put it onto a piece of larger scrap paper to protect the work surface from the paint overlap.

2. Depending on the age of the child allow them to use the paintbrush to paint their hand in whatever colour they want to use first or you can paint their hand for them. Tip – ask them to show you strong hands or star shapes while applying paint so that they stretch their hands out nicely for the print this also helps in the next step.

3. Guiding the child’s hand by holding their wrist press firmly onto the matt card. Tip – Children will tend to put their fingers together when printing to try and get their whole hand onto the card, just continue to ask them to show you strong hands or star shapes and demonstrate what you would like them to do before you do it. Perhaps even practice before you have paint on their hands and then on a scrap piece of paper with paint especially if your child is younger.

4. Repeat step 3 with different colours and in other directions until you are happy with your results.

5. Allow to dry completely then write the year, or happy mother’s day with the year or just Happy Mother’s Day.
6. Using tape stick the photo into the back of the matt frame then reassemble the frame.


