By Annabelle Carter Short
There are many benefits in learning to sew. Seeing your own creation come to life brings pride and is a great confidence boost. There is also a myriad of mental health benefits. It can also boost your mood and help keep your brain healthy. For children, it can also help to improve their motor skills.
Here are some tips for teaching your little ones to sew and some projects to get them started.
Tips for Teaching Kids to Sew
Teaching a child to sew is a lot different from trying to teach an adult. The key ingredient here is patience. Your child isn’t going to get the hang of sewing right away and they’ll need a lot of direction.
Make sure to keep your cool even if you’ve heard a question for the fifth time. When choosing a material, the thicker it is the better. Thin materials are much less forgiving. A thicker fabric will allow you to go back and correct mistakes much easier. For this reason, felt sewing projects are a great stating place.
One more tip would be to go slow. If you throw ten different lessons to a child at once, they are going to get confused. Instead, teach them one thing at a time and let them get the hang of that before moving on.
For the sake of safety, it’s also a good idea to stick to sewing by hand at first. This is especially true if your child is young.
1. Felt Bracelets and Necklaces
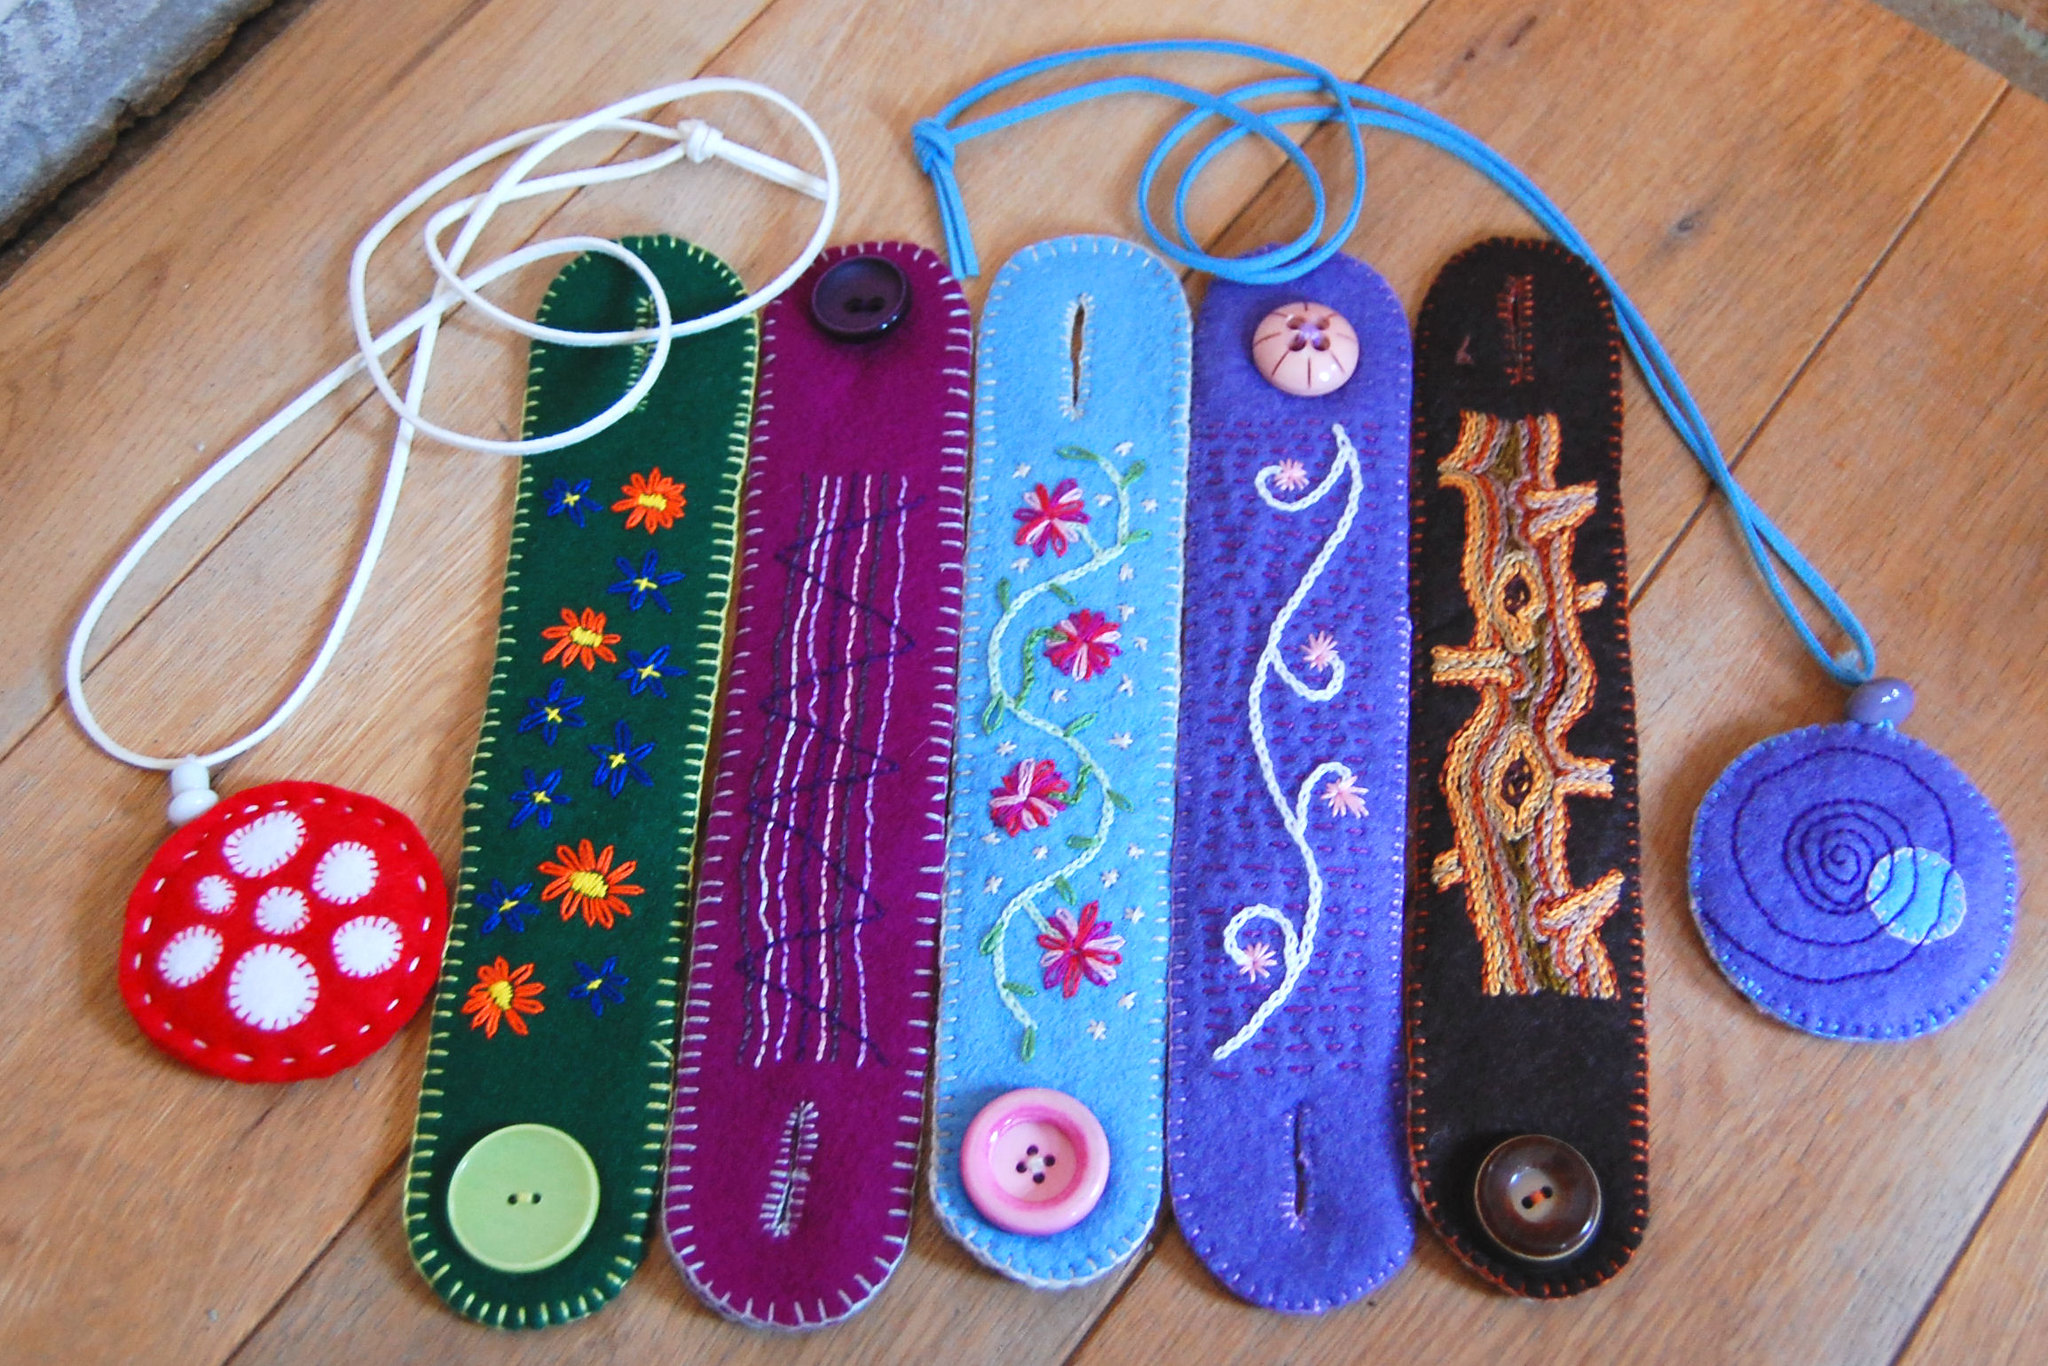 For the necklaces, simply sew a pair of circles together and add some stuffing for shape. The bracelets should be made of two lengths of fabric sewn together to fit your child’s wrist. On these, you’ll want to add a button hole on one end and a button on the other. This will serve as the fastener for the bracelets and yarn, or string will work for the necklaces.
The real creativity comes in here by allowing your child to add creative stitching to the designs.
2. Felt Purse
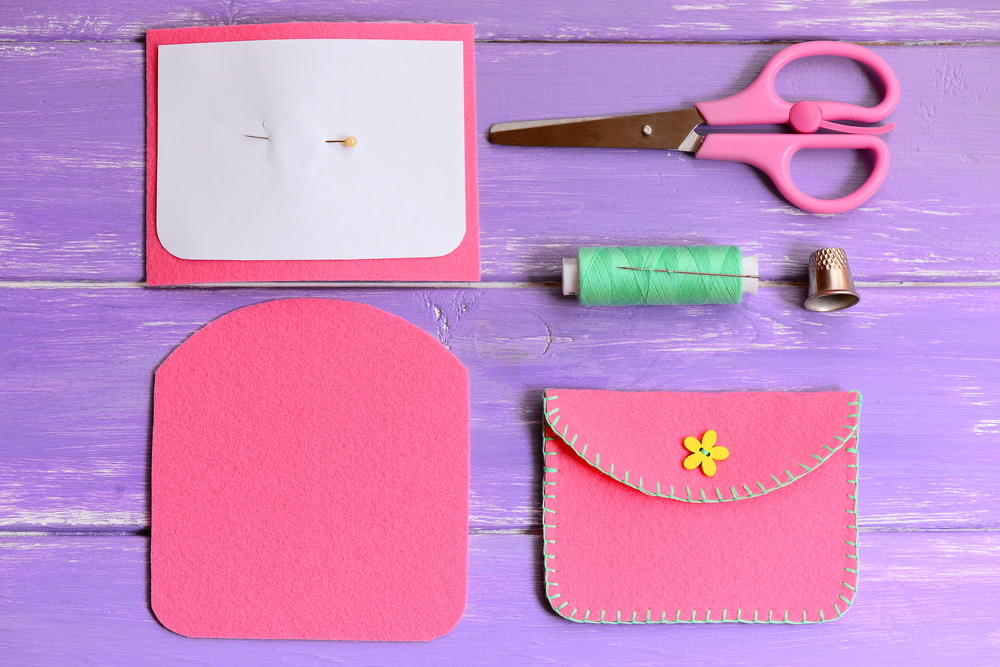 Create an envelope shape. A rectangular back and a front with a triangle cut from the top. Sew the large pieces together on three sides and the large side of the triangle to the top of the purse. Now you have a simple purse to carry with you. Instead of using stuffing this time, it’s a good idea to add something to keep it stiff; cardstock or thin cardboard work well.
3. Felt Star
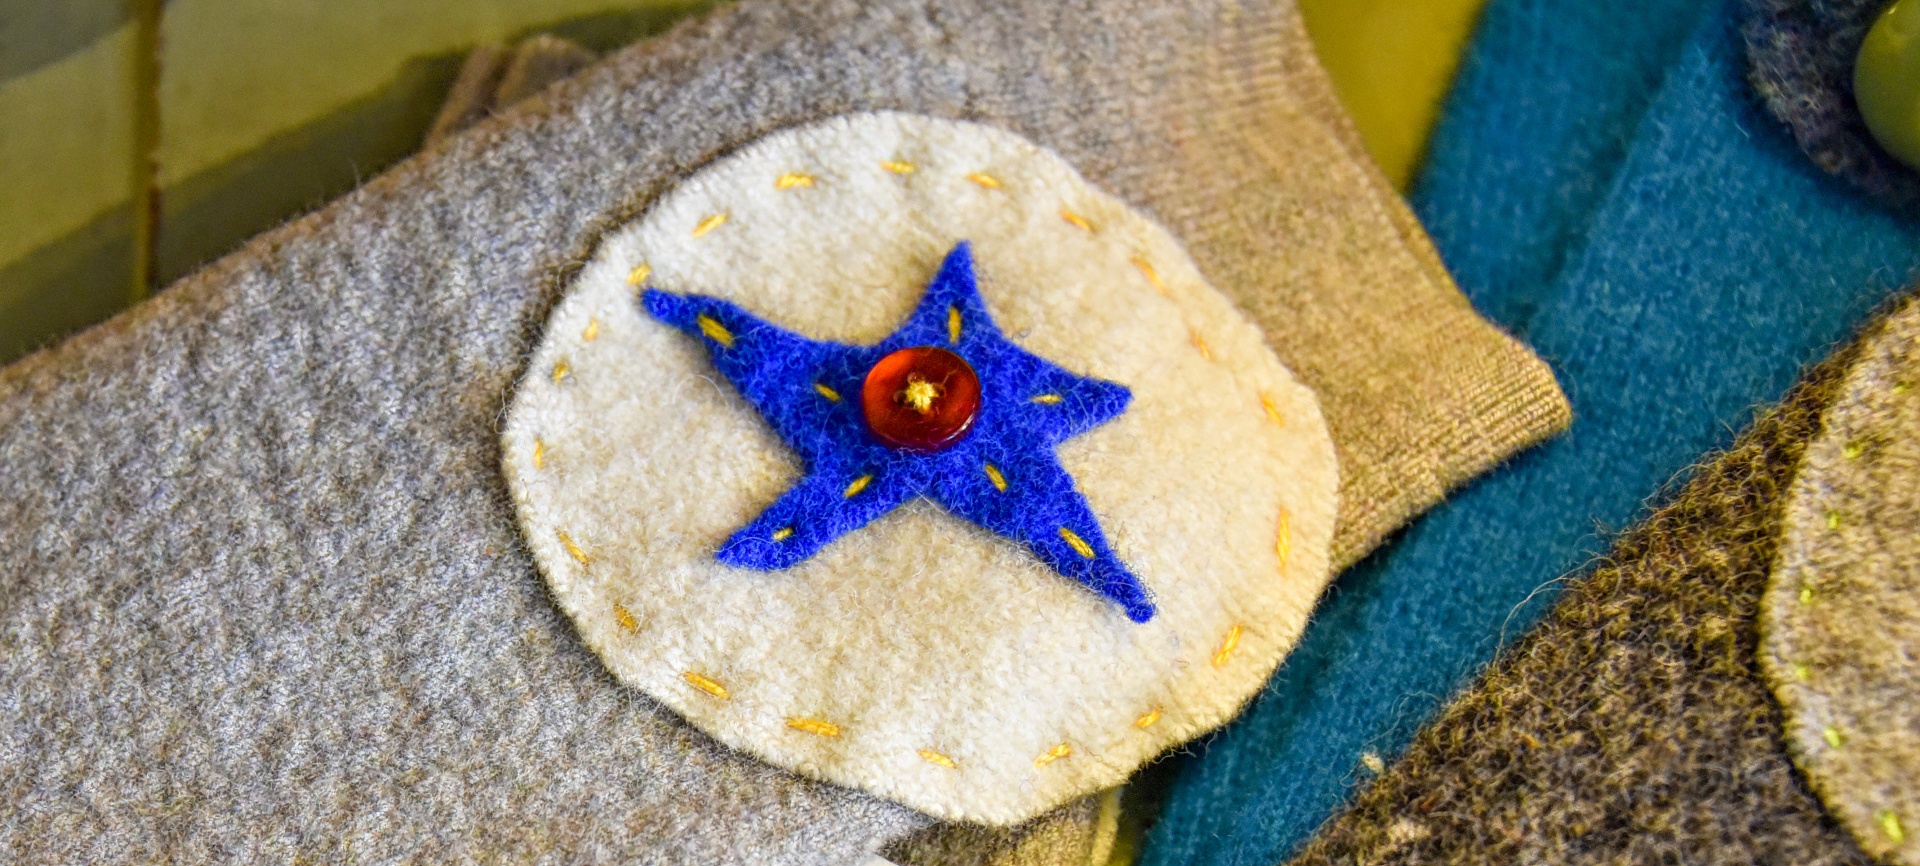 For this craft, you’re going to use layering a little bit more than the other crafts we’ve looked at so far. To start, cut out a circle of tan or white felt; this is going to serve as a background. Now, cut out a star of another color and sew it on top of the circle. You can add a button as an extra touch now too! To finish this off, sew another circle on the back to cover the stitching under the star.
4. Handmade Letters
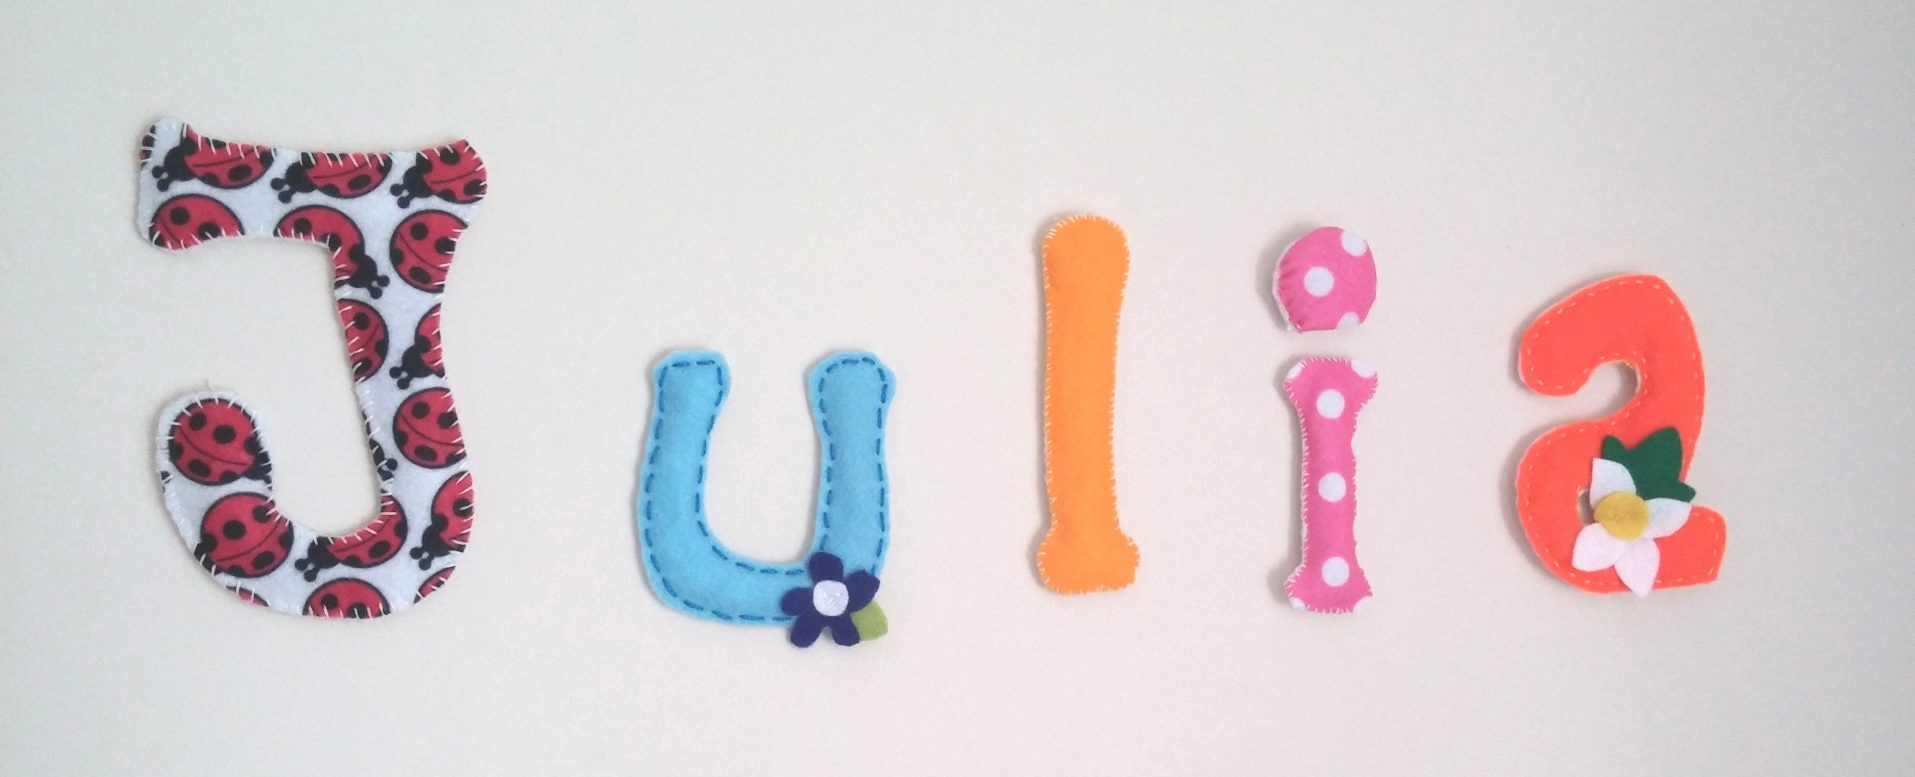 To create the letters, cut out a pair of letters in fabric. Then start sewing the letter up but before closing it up completely add some stuffing to give the letters a more 3D shape. Once the letters are done, kids can add extra decorative touches such as sewn flowers.
Annabelle Carter Short is a writer and seamstress of more than seven years. When not working, she’s spending time with her family or putting pen to paper for her own personal pursuits. Annabelle enjoys crafting and DIY projects with her two kids. She is passionate about autism and she homeschools her autistic son. She also works with few organisations to provide the best resources for raising and educating a special needs child.


