with these 4 kid friendly experiments…
When someone mentions science, do you automatically think of distant laboratories or complicated experiments? Most people do! But science is literally around us all the time. When we wake up each day, the sun has gone around the earth, the days are getting longer or shorter and the weather turns up in its infinite variety. Science is simply the study of what we observe around us every day. So why not engage in some fun and accessible science activities with your kids right in your kitchen!
Water, weight, temperature, transformation, texture, touch, taste, light and sound are all waiting to be discovered. All we need is to be aware of the opportunities we could activate.
Cooking and baking offer multiple ways to observe science in action. The simplest thing, like making jelly, can alert children to how temperature can assist processes. Boiled water is used to dissolve the crystals, the cold water is added for volume and the fridge temperature makes the jelly set. Always bearing safety in mind, children can be encouraged to watch steam rising as food is prepared, how cakes rise in the oven and how eggs change when they are boiled.
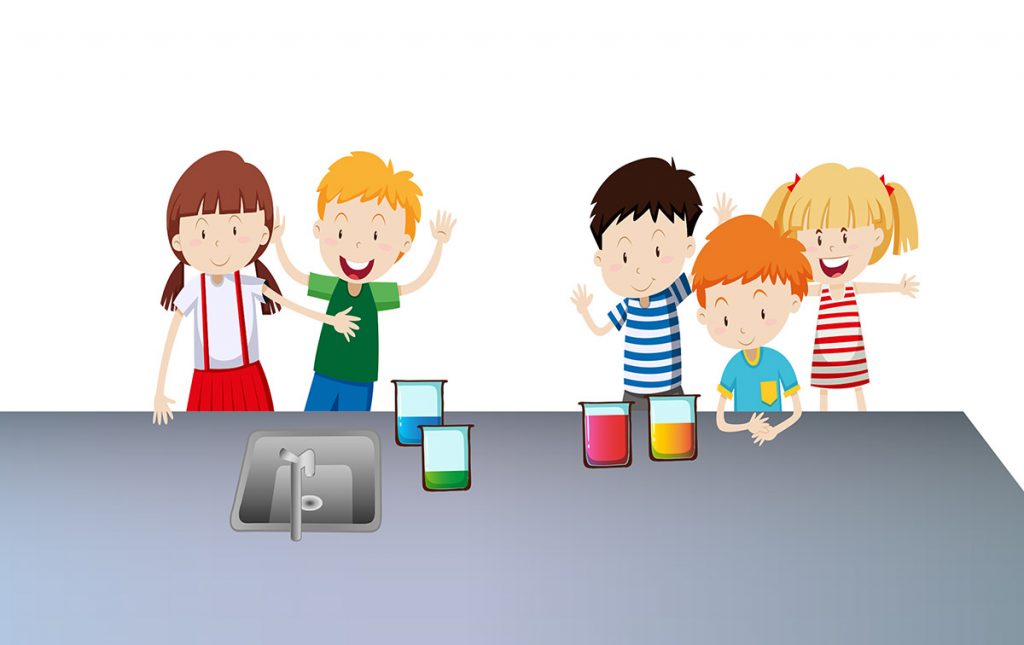
Besides all these incidental observations, you can help them set up simple experiments to engage, entertain and teach.
Four easy experiments to do with young children
1. Grow beans
Start by soaking 5-6 dried white haricot beans overnight in a bowl of water. Next day, place two squares of folded, dampened paper towel into a large sandwich zip lock bag. Put the haricot beans into the bag on one side of the towel. Zip the bag and tape it in a warm place against a window so that the children can see the beans. Within a few days the bean germinates and roots will start to appear. With more days’ patience the first leaves will be visible. When the beans reach this stage, they can be planted out in small pots of soil to become mature plants. The excitement of germination never ceases to amaze me. Growing anything can encourage the gardener in your child.
2. Grow crystals
Besides growing beans, why not grow crystals? Kids will need adult assistance, three cups of table salt, one litre of water, a pencil, a paperclip a strong plastic or pyrex bowl and a piece of string. Boil the water with your child and fill the bowl. Add the salt a tablespoon at a time and stir, until no more salt can dissolve. You will see a fine layer of salt collecting at the bottom of the jar when this supersaturation is reached. Tie one end of the string to the pencil and the other to the paper clip. Place the pencil across the jar so the string dangles down. The paperclip weighs the string down and shouldn’t touch the bottom or sides of the jar. Allow the jar to sit for a week in a sunny spot without disturbing it. You should see the salt crystals forming at the top of the string within a week. Children will love looking at the crystals through a magnifying glass. (They’ll want to examine everything else in reach including the cat’s whiskers if it sits still for long enough!) If your child wants to know why the crystals form it has to do with supersaturation. The boiling water encourages more salt to dissolve than would normally occur and the salt it drawn up the string with the water. When the water evaporates, the salt crystals are left behind and accumulate in the characteristic tiny cube shapes. If your child falls in love with crystals, go online and investigate the huge variety they can grow. It can become an advanced hobby.
3. Explore sound
For an investigation into sound, make a water xylophone. Arrange 5-6 glass jars of the same size and fill them with water to different levels. For fun, add a little food colouring to each jar to create a rainbow effect. When kids tap on the jars with a metal spoon they will hear the different pitch related to the proportion of air to water in the jar. Ask them to explain what they think is happening.
4. Colour and walking water
Staying with water, try the ‘walking water’ experiment. Arrange six small plastic containers filled with water in a circle. Add red food colouring to the first one. Skip a container and add blue food colouring to the third one and finally add yellow food colouring to the fifth one. Cut thick paper towel into strips, just long enough to dip from the middle of one container to the next. Lay six strips across the jars so that the clear water is linked to a coloured water container on either side. Then see what happens! The cellulose in the paper acts like tiny tubules starting off a capillary effect. Primary colours from the jars will ‘walk’ through the strips to the clear water and create the secondary colours! It’s like magic!
Emphasise scientific thinking
What you want to do through these and many other experiments is to get your child thinking using the scientific method. Scientists ask good questions. They experiment with a variety of materials and substances; they hypothesise about what might happen and they are keen observers. Besides this, they use specific vocabulary, measure precisely to recreate their outcomes and they record what they see with drawings, graphs and photography. Children learn about more than what happens in a one-off experiment – they learn how to think.
Good luck to you and your young scientists as you explore the world in your kitchen!

Lili-Ann Kriegler (B. A Hons, H. Dip. Ed, M.Ed.) is an education consultant and author of Edu-Chameleon.
Lili-Ann’s primary specialisations are in early childhood education (birth-9 years), leadership and optimising human thinking and cognition. Her current part-time role is as an education consultant at Independent Schools Victoria and she runs her own consultancy, Kriegler-Education.
Find out more at www.kriegler-education.com


